April4
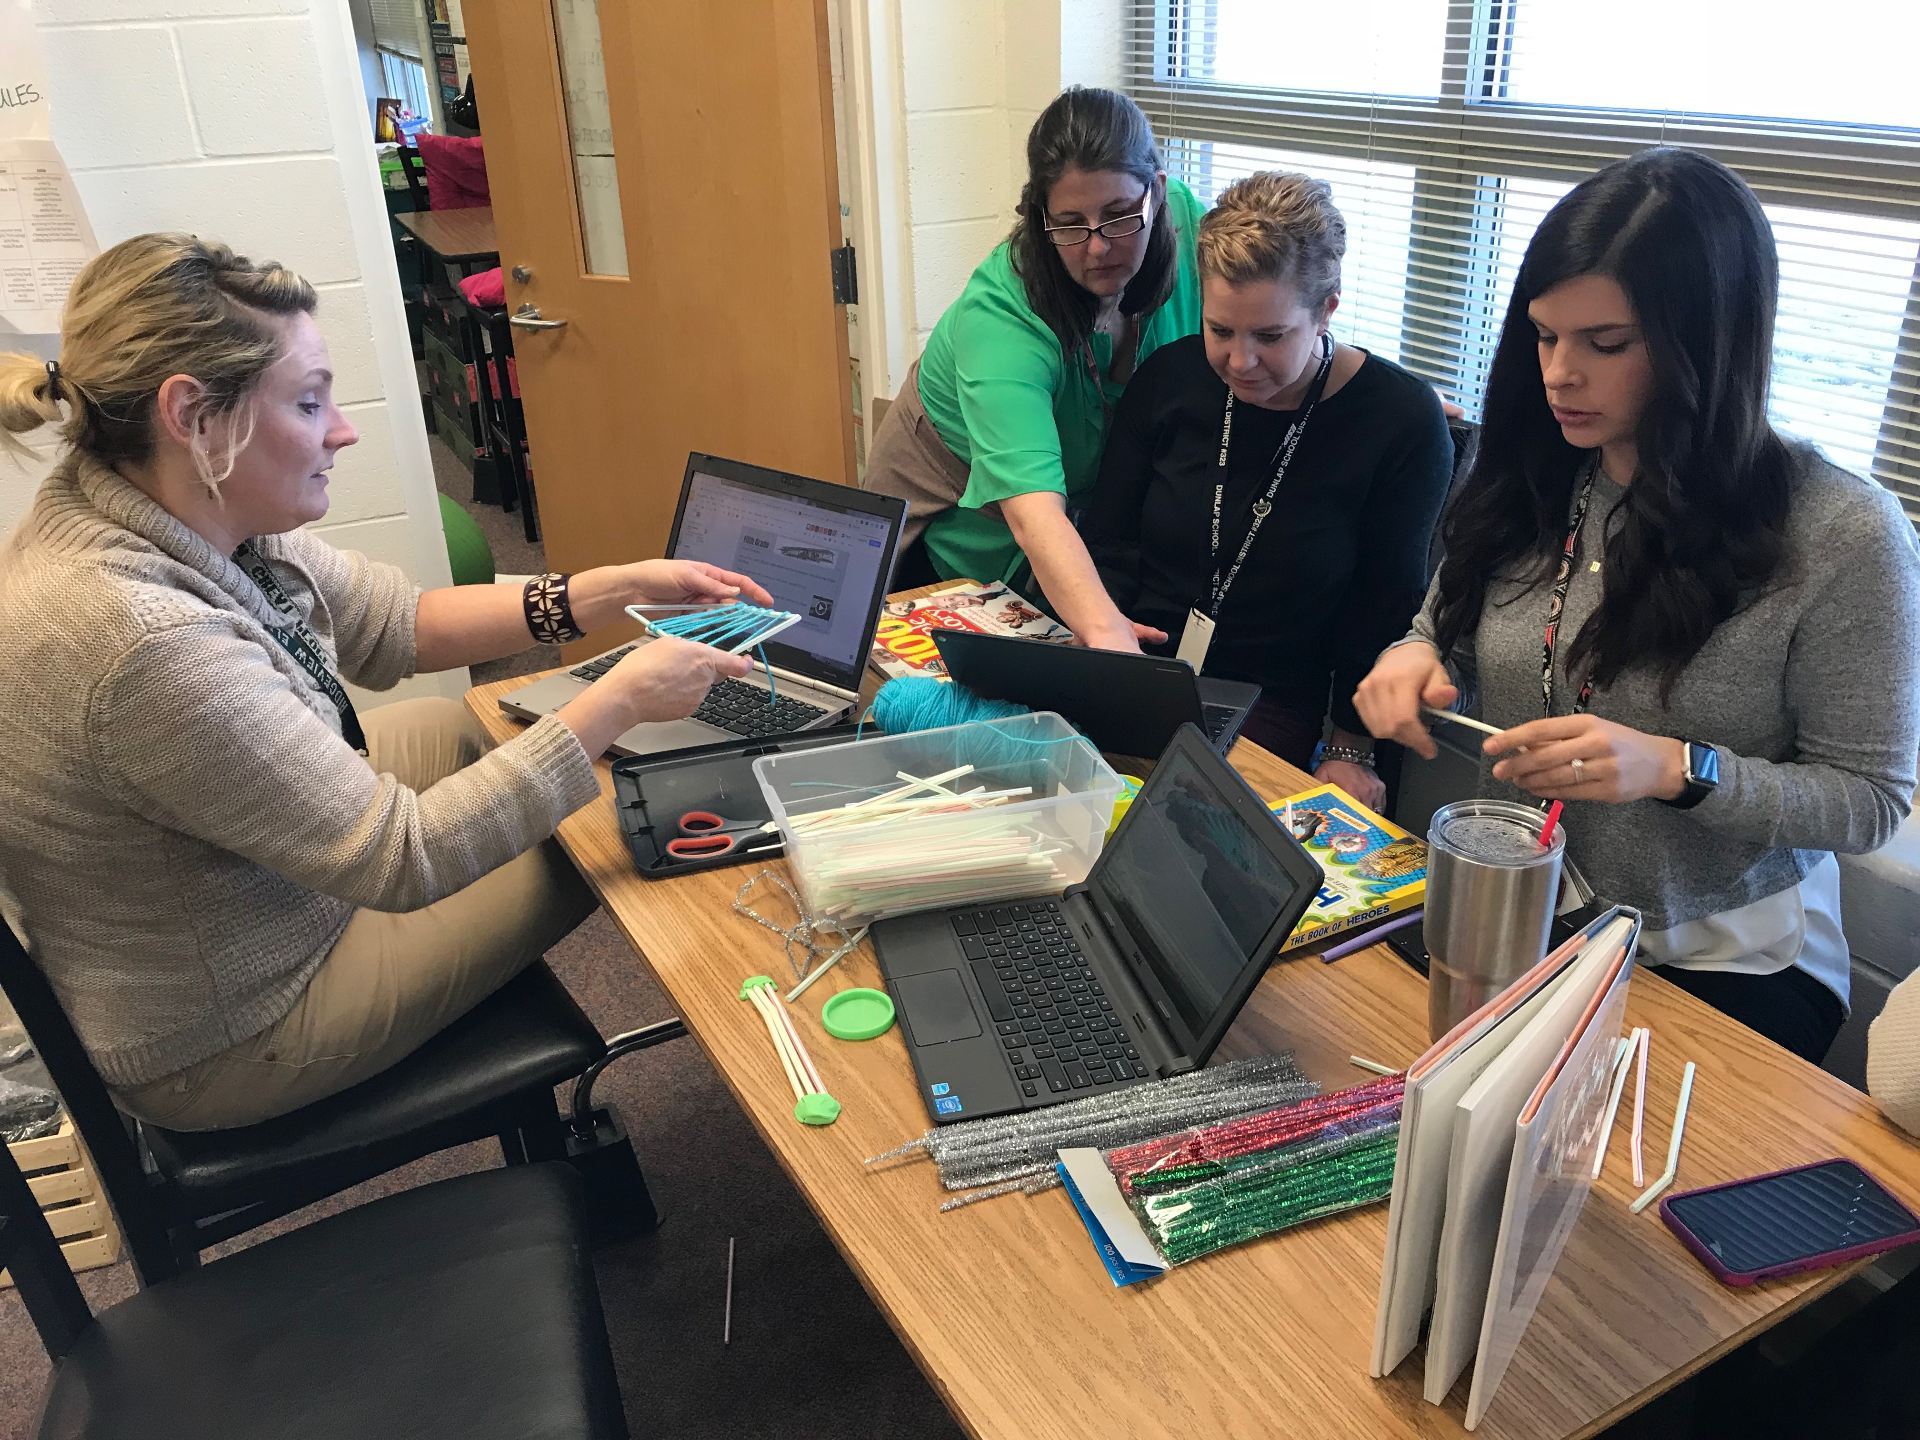
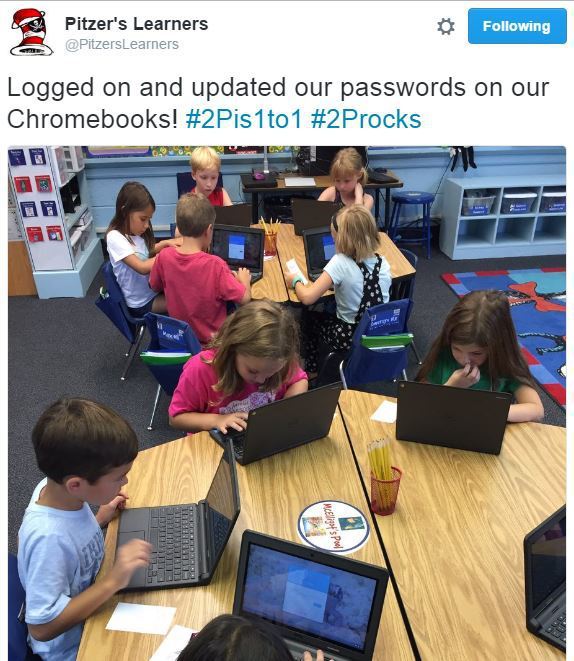
I recently went on maternity leave from February-March. Since I am a piloting teacher with touchscreen Chromebooks, tech is embedded everywhere into my classroom. I would be lying if I said I wasn’t anxious, excited, and nervous to leave a long term sub with all of this technology. I was so excited for students to show the sub all the amazing things they could do but anxious and nervous about how it would be managed. The good news is my students had been using their devices 1:1 since the first day of school. I knew in August I would be leaving around February, so I made sure to utilize the gradual release of responsibility model. This allowed me to model using technology, provide guided instruction, and then independent time to show me what they had learned. It was this groundwork that showed students how the devices should be used as well as provide them with time to learn how to be mature digital citizens.
I learned a lot throughout this process and wanted to share tips and tricks to help you if you are 1:1 and in a similar situation as I was.
1.) Binder: I left a binder with everything in one place. This included passwords to any and all websites, a brief explanation of how I use them, and guidelines that students should be able to follow.
2.) Consistency: I tried very hard not to introduce any brand new technology while I was gone. This allowed me to let my sub know students who were experts in a particular program, device, or tech tool. These students served as helpers, teachers, and or trouble shooters. There is something to be said about exploration and allowing students to do this with new technology. However, I felt that while I was gone, the sub would appreciate students having prior knowledge. I feel this would depend on the level of tech
3.) Screencastify Videos: Before I left, I did record some videos using Screencastify. This allows you to record your screen, just yourself and or both. You can use it for free for up to 10 minutes of recording time. It automatically saves to your Google Drive and then I can share it with my students. If they needed help remembering how to use a tool or turn in assignments, this video was at their disposal. While I realize not all leave for teachers is planned, making a few of these videos to have in your library is a great idea. If your leave is planned, you can create a video library. This way a sub can play you teaching a mini lesson! Once these videos are made, you will have them forever. You may even want to make some generic ones that could be watched if need be.
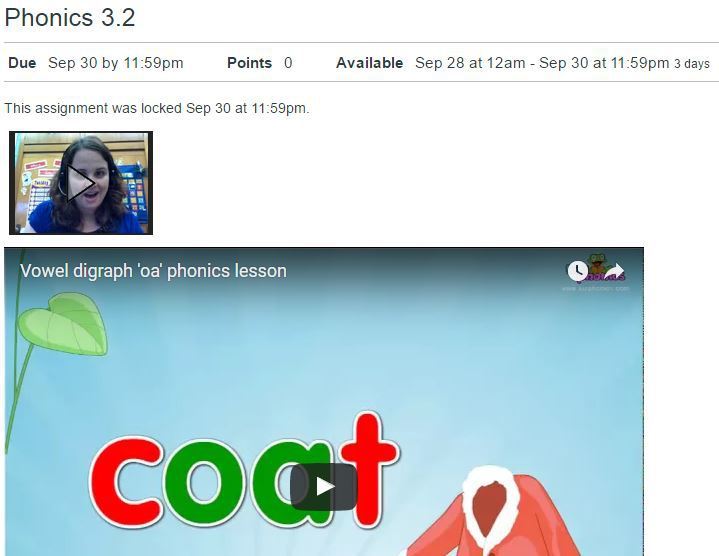
Check out these poetry mini lessons I had my sub play during our writer’s workshop. She played one video each day!
Poetry Prewriting
Poetry Examples
Poetry Drafting
Poetry Revising & Editing
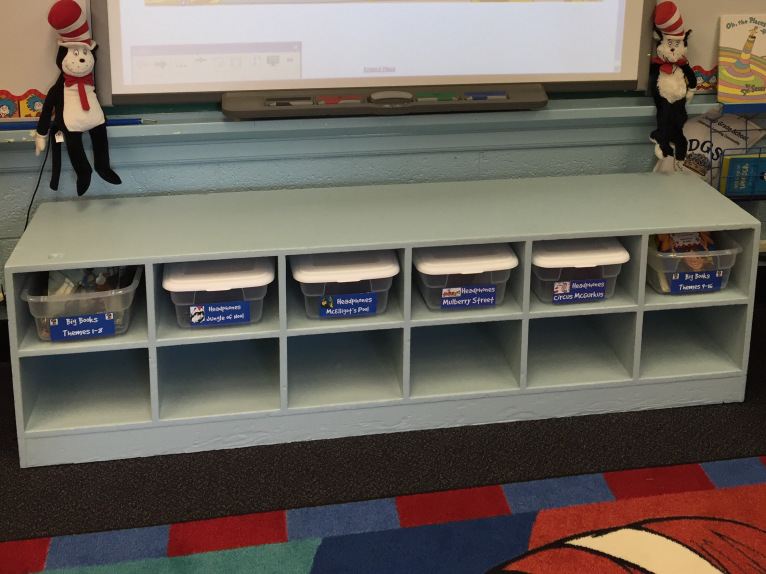
4.) Organization: Oh my goodness your tech must be organized and easy to follow. In my situation, the long term sub was able to text/email me with any questions if there was a problem. If you don’t have that option, I recommend making sure all things are published in your learning management system so students can access their assignments. I also recommend your learning management system be up to date and laid out in a way that anyone could follow. My district uses Canvas, so it was vital for me to make sure modules, assignments etc. were published. If it wasn’t published, students couldn’t view it and this caused a disruption in learning. I twas because of this I plan publishing everything but set it up so students must complete one module and all of the assignments before moving on to the next module.
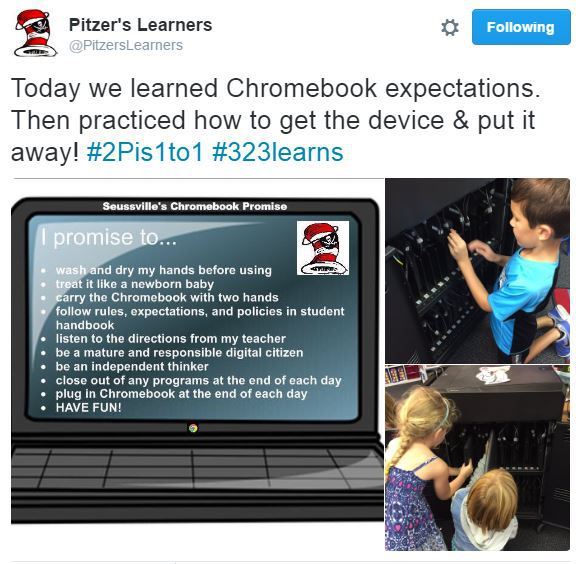
5.) Classroom Management: I left a Chromebook reflection sheet that students would have to fill out if they were breaking any of our expectations. I also outlined acceptable use policy and basic guidelines for what students should be expected to do independently. I placed this in my binder. Our district also uses GoGuardian and this was an amazing tool. It allows the teacher to see all the screens at once, push out messages and announcements, and give you a daily report of any and all websites visited. I didn’t leave this log in information with my sub but as I become more familiar with this tool, I feel this would be a great things for subs to have access too.
6.) Let it go: This of course was and always seems to be one of the hardest things for teachers to do. As I looked through assignments that students did while I was gone, I noticed it wasn’t quite up to my standards and or not completed in the way I thought they should have been. I truly think this is because no one will ever replace the classroom teacher. No matter how wonderful your sub is, they aren’t exactly like you and their knowledge base or tolerance level or even philosophy may be different. That’s ok. There were some assignments that were a wash or didn’t go like I thought they would. I took away a few things from this:
~~Even if an assignment was a failure, it didn’t mean the activity was a failure. Students still were receiving practice and opportunities to utilize technology and enhance their learning.
~~Some of my rubrics and directions were unclear. It made me re-evaluate rubrics, criteria, and steps students should take with a more reflective eye. I also had stopped providing video directions rather suddenly. Next year, I plan on gradually moving toward written directions.
~~Less is more. Some of the reasons why things didn’t go as planned, is students were overwhelmed and or there were too many steps to follow. This allowed me to really reflect on making directions concise and more clear.
As educators, we all know that having subs is hard. I am however, so grateful for this experience. It really allowed me to look at my tech from an outsiders prospective and be more reflective. I can’t wait to apply these to my lessons for next year so having a sub in my room can be as seamless as possible!
What tips do you have for leaving technology for subs? Has anyone tried leaving a Substitute HyperDoc? I recently saw a teacher who created a HyperDoc for her students to work on throughout the entire day. I would love to know what the management looks like and the content involved
 This year marks my 14th year as an educator and also an evaluation year. I don’t know if you are like me, but often times I find that when I go to upload my evidence, I am scrolling through my camera roll, searching my laptop, and searching social media feeds for the picture I swear I remember taking. There had to be an easier way.
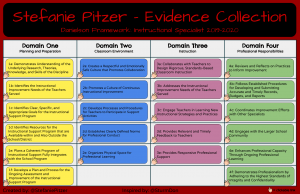


Recent Comments